What Is Key Geometry And Why Do Techs Always Want To Correct It?
Geometry is what makes or breaks the relationship between saxophone key work, the body tube, the posts, and the tone holes. On well-manufactured horns the geometry is usually pretty damn accurate, but there are always errors, big ones and small ones. Here is just one example of what it looks like to correct issues with key work geometry.
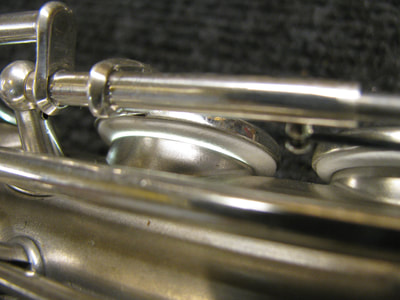
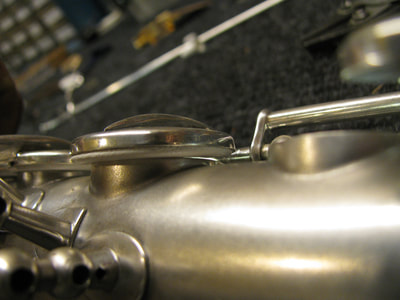
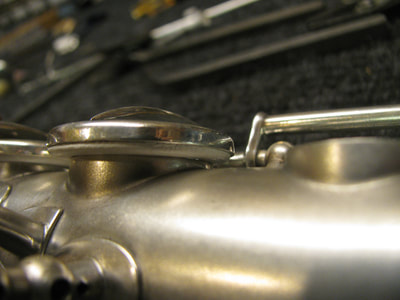
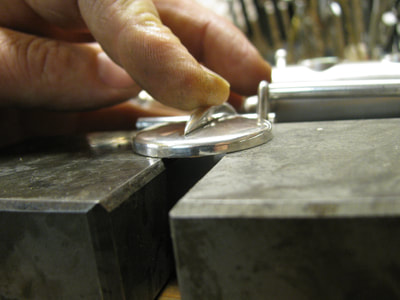
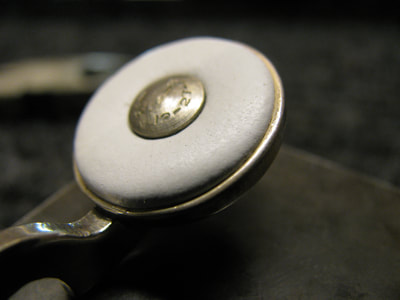
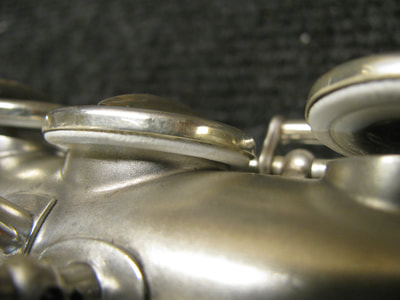
Photos one and two show the G key in the upper stack being "Dry-Fit". What is Dry fitting? After you have meticulously fit the key to eliminate all slop and wobble, you install the pad in the leveled key cup without any shellac. Then, you check the relationship of the pad to the tone hole.
As you can see in those first two photos, the pad is nosing hard; there is a huge gap in the back of the pad. It's so big that it is not normal. So I know there is a problem with the geometry.
*Before the Buescher purists get their knickers in a twist about .185" pads, slow down. This was the only key on this entire 1926 Straight Alto that had this severe discrepancy. Using .160" pads on this Rebuild, every other key on the horn passed the Dry Fit as virtually level or slightly back heavy. And that is actually the norm. The .185" pads are always extremely back heavy. You can read more about my thoughts on the arcane and obsolete approach of using .185" pads on Bueschers here.
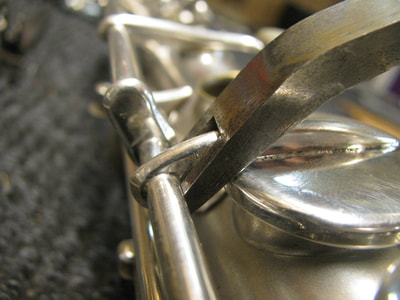
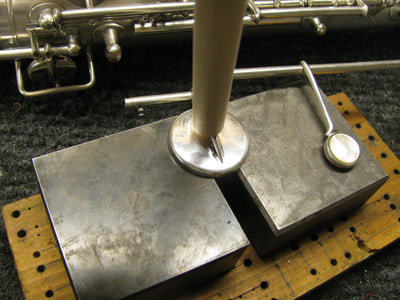
In the third photo I am correcting the geometry of the key arm. I am changing the angle of the key arm so the back of the key cup will be closer to the back of the tone hole. Simply adding a bunch of shellac to increase the pad profile is not the way to solve this problem - you'd end up with uneven pad profiles in the upper stack which would look amateur, the pad would be less stable, and you'd likely get a bunch of shellac on the spud and then the Snap would be loose. Hence the need to Correct Key Geometry.
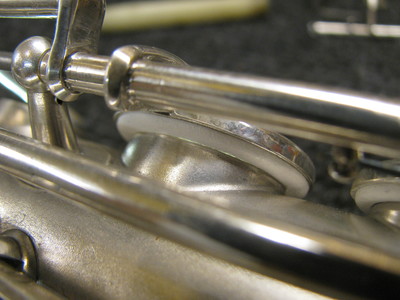
In photos four and five I am Dry Fitting the pad again after having corrected the key arm angle. The pad is now virtually level - emphasis on virtual. The pad isn't actually level at all, but I can tell that with a normal amount of shellac I will be able to seat this pad without terrible difficulty; particularly since I have done a lot of other prep to get to this point.
In photos six and seven I am re-checking the key cup for level after having changed the key arm angle. I am using two bench anvils because this is a Buescher key cup and the spud prevents me from leveling it flat on a single anvil.
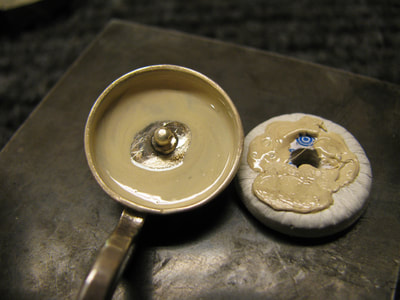
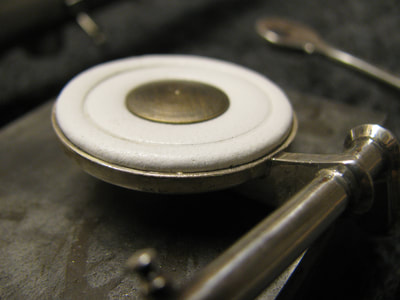
The eighth and ninth photos show the pad installation for a Buescher. I now know approximately how much shellac I need thanks to the Dry Fitting. And as you can see, I do not need an excessive amount. That is how I want it. Also note that I have taken care to leave the spud clean so I can get a good firm snap when I install the Snap-In.
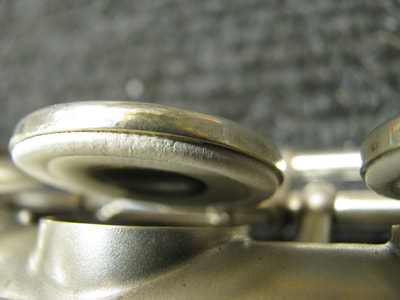
The last three photos show the seated pad. Note the relationships between the key cup, the pad, and the tone hole. The pad has an even profile - it is not cock-eyed. The profile is not exaggerated and ballooned due to excessive shellac either. The lines of the tone hole rim, the pad profile, and the key cup rim are straight and level. Compare to the second photo in particular.
In the last photo you can also see that the pad seat is centered, another important detail.
