Cennamo Woodwinds
  • Home
  • About
  • Services
  • Rates
  • Reviews
  • Gallery
  • For Sale
  • Blog
  • Contact Us
  • Buescher 400
  • Tune-Ups
  • Repads
  • Overhauls
  • Full Mechanical Rebuilds

January 19th, 2019

19/1/2019

0 Comments

 
Two Dirty Secrets of the Saxophone World:
Many well-made vintage "Student" horns are every bit as good as their Professional counterparts. This fact is often dismissed or misunderstood because these horns are so rarely invested in properly the way their professional counterparts are. Meaning, so few people play them in proper adjustment.
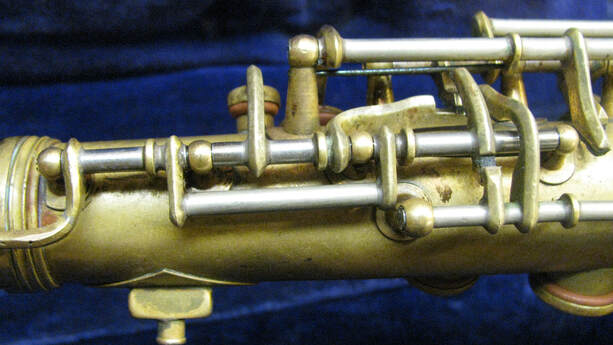
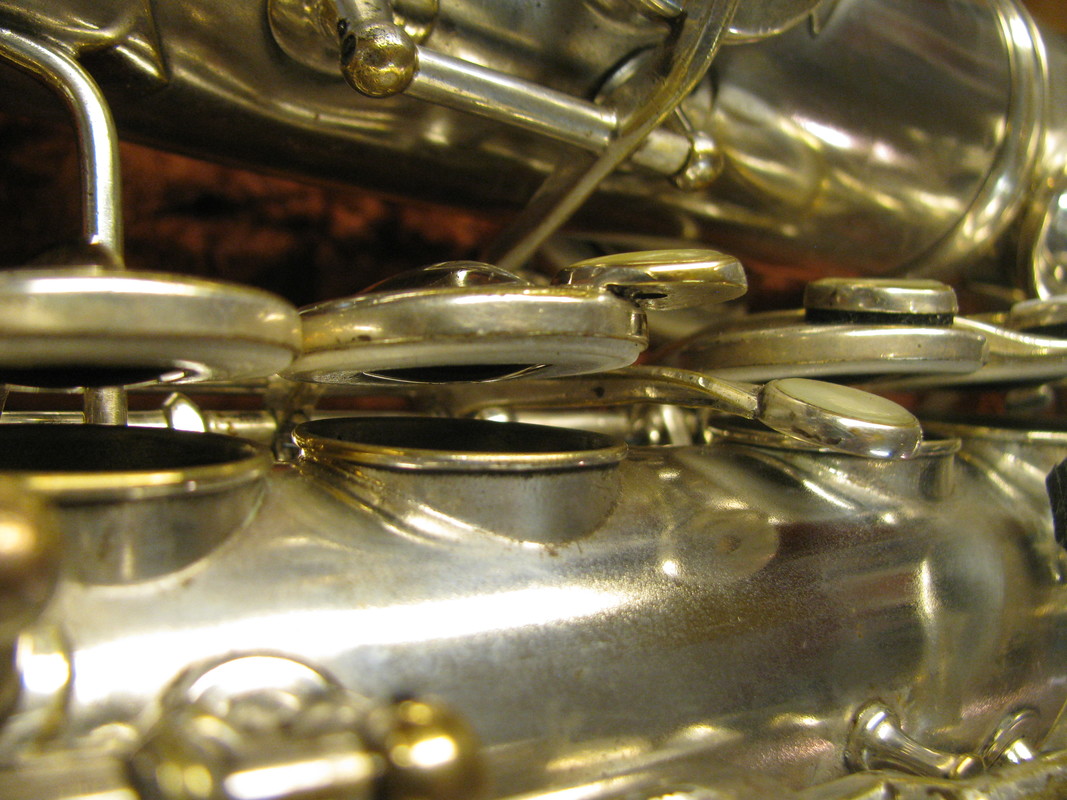
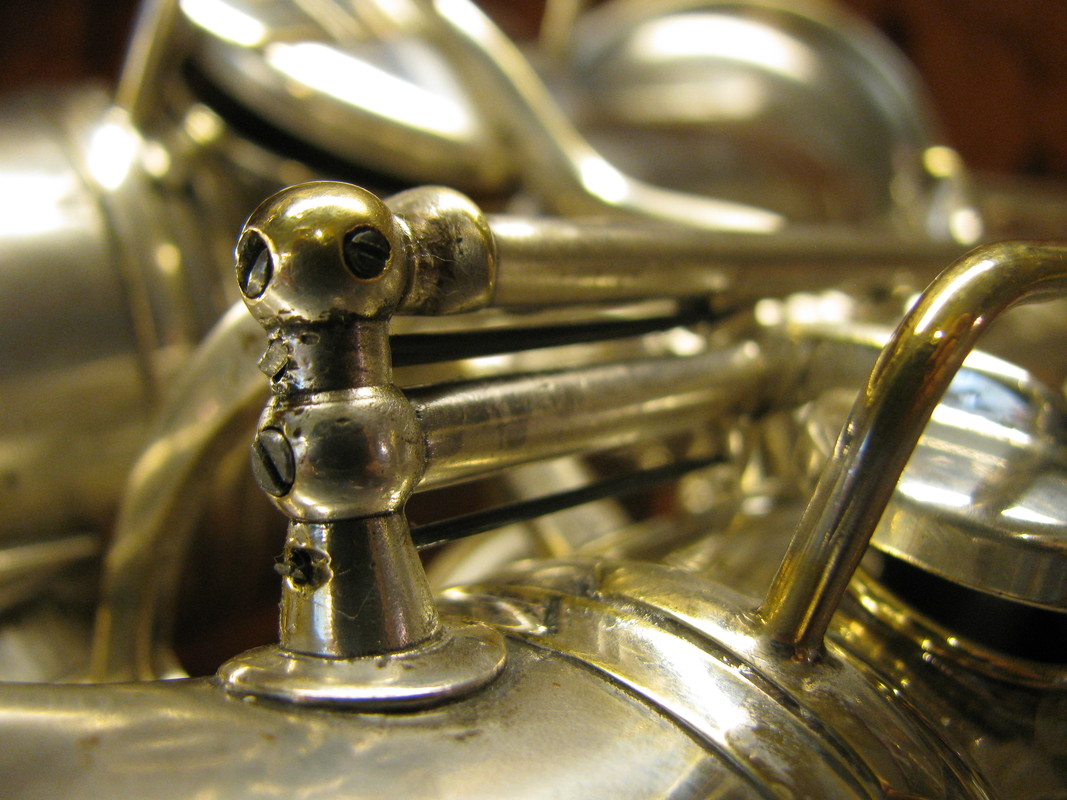
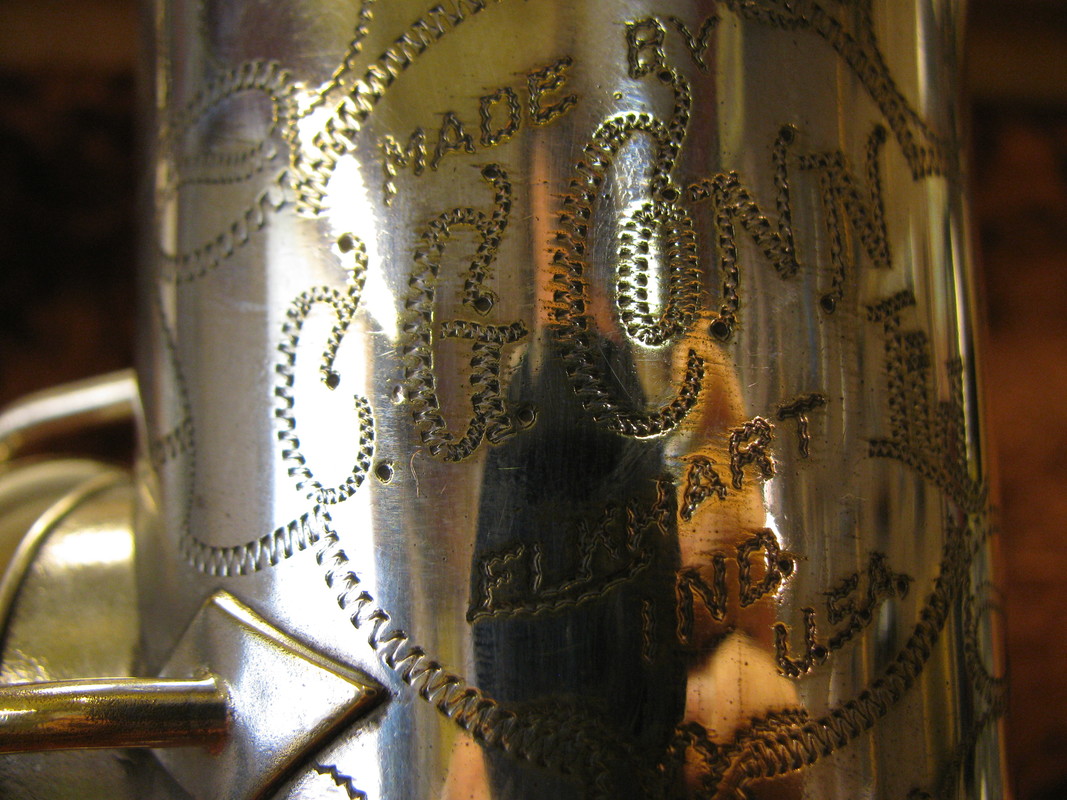
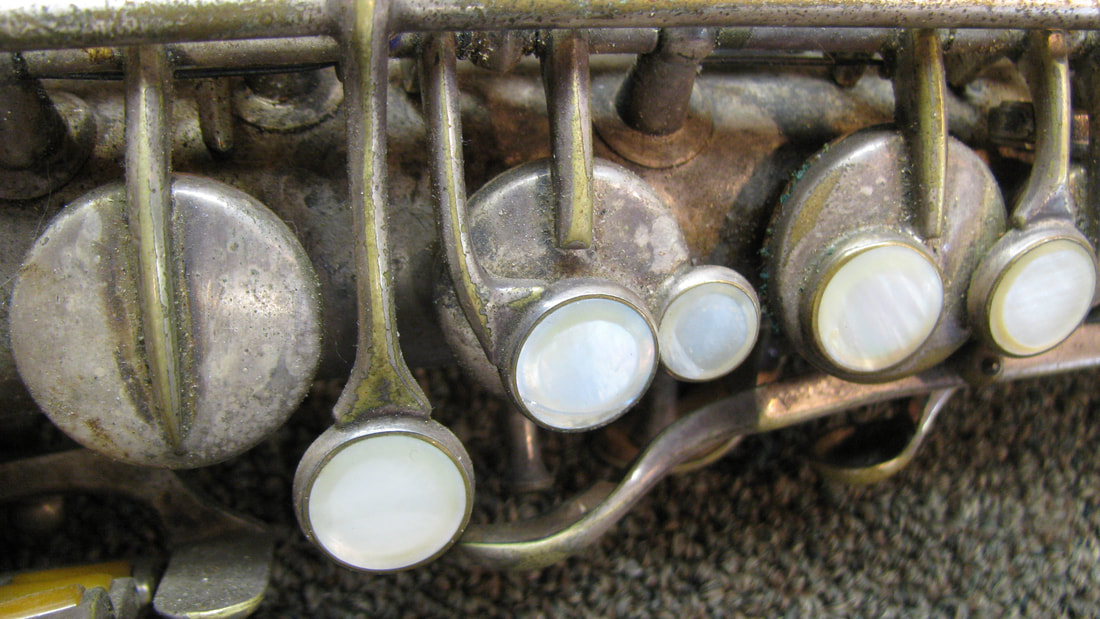
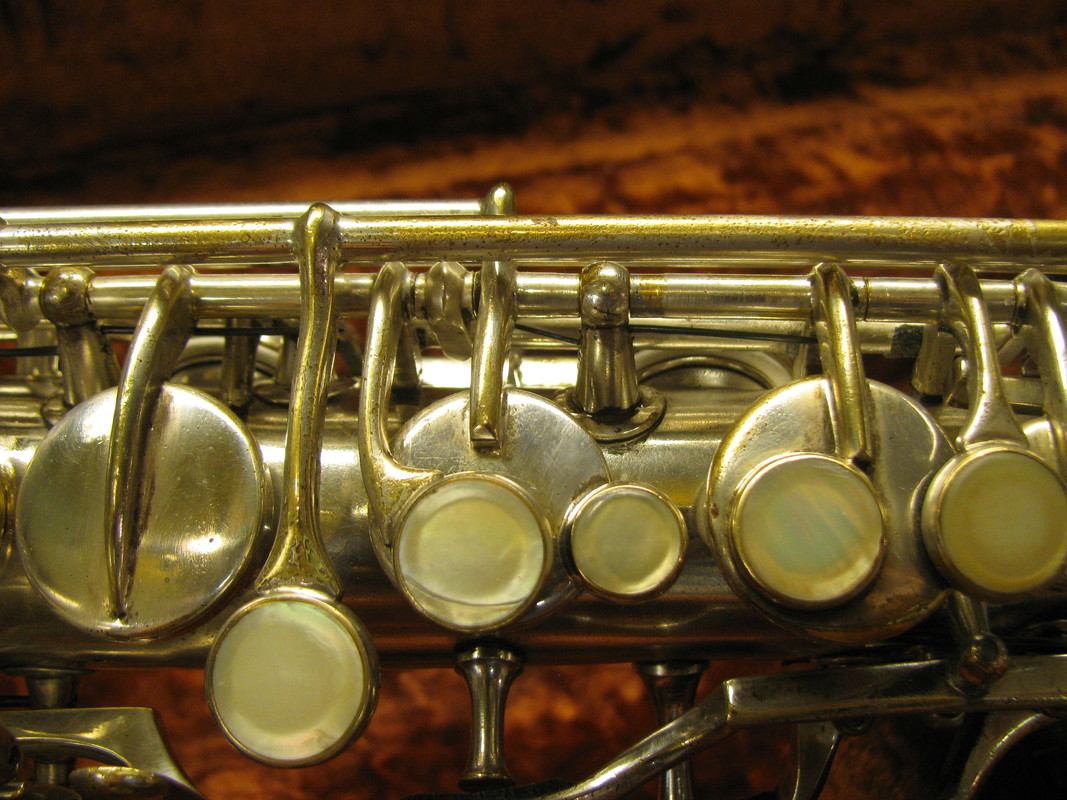
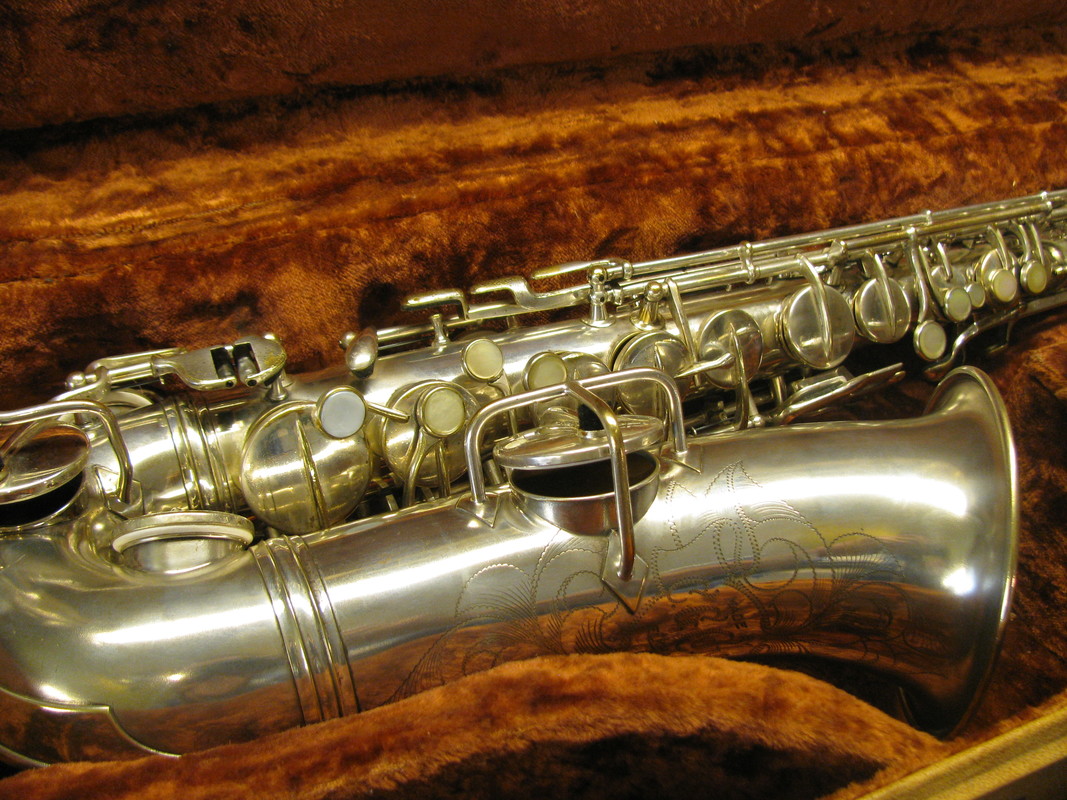
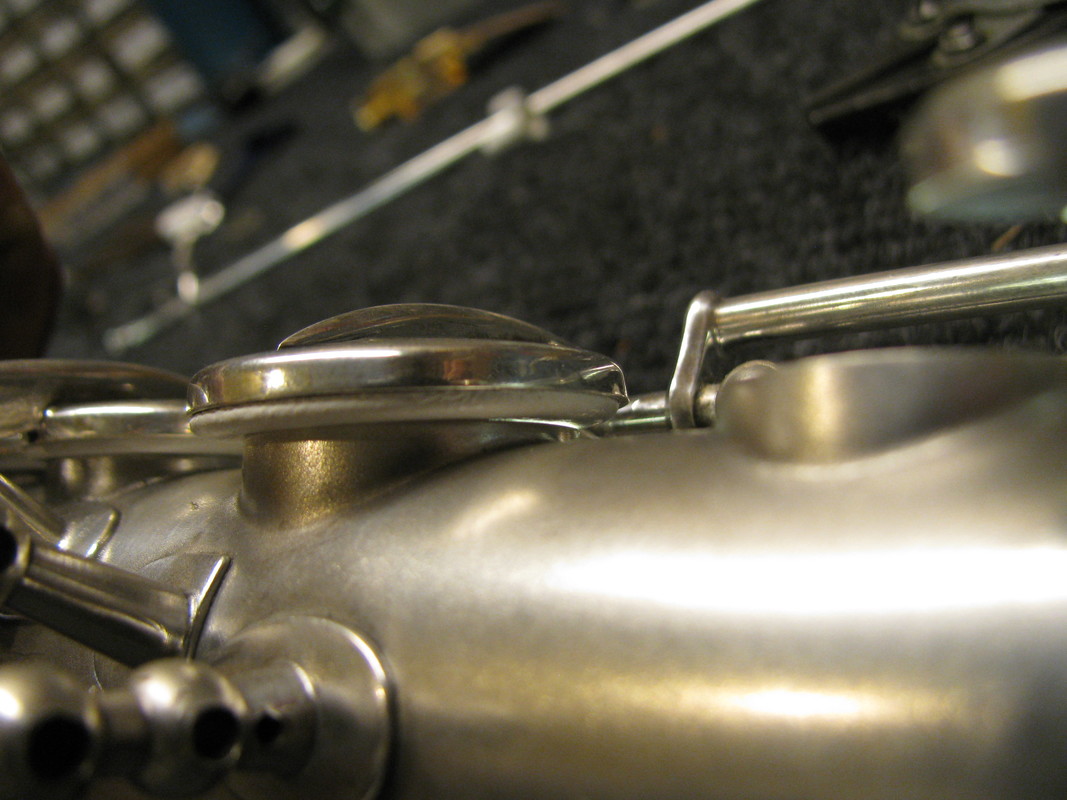
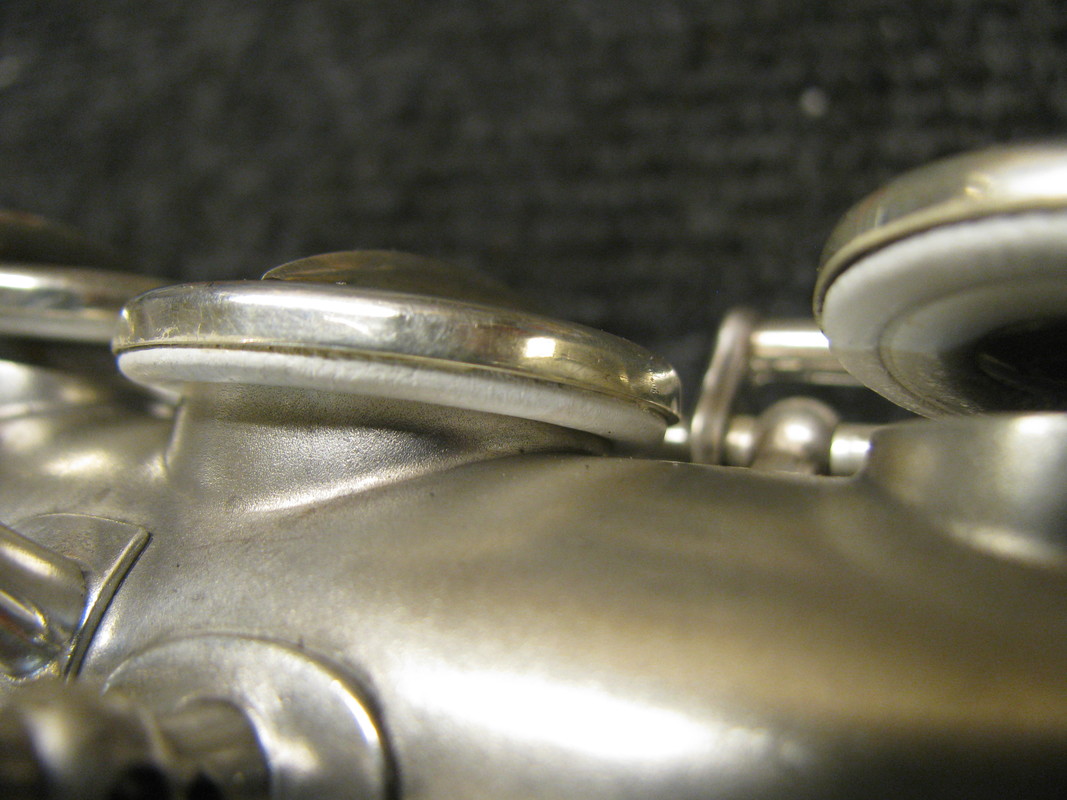
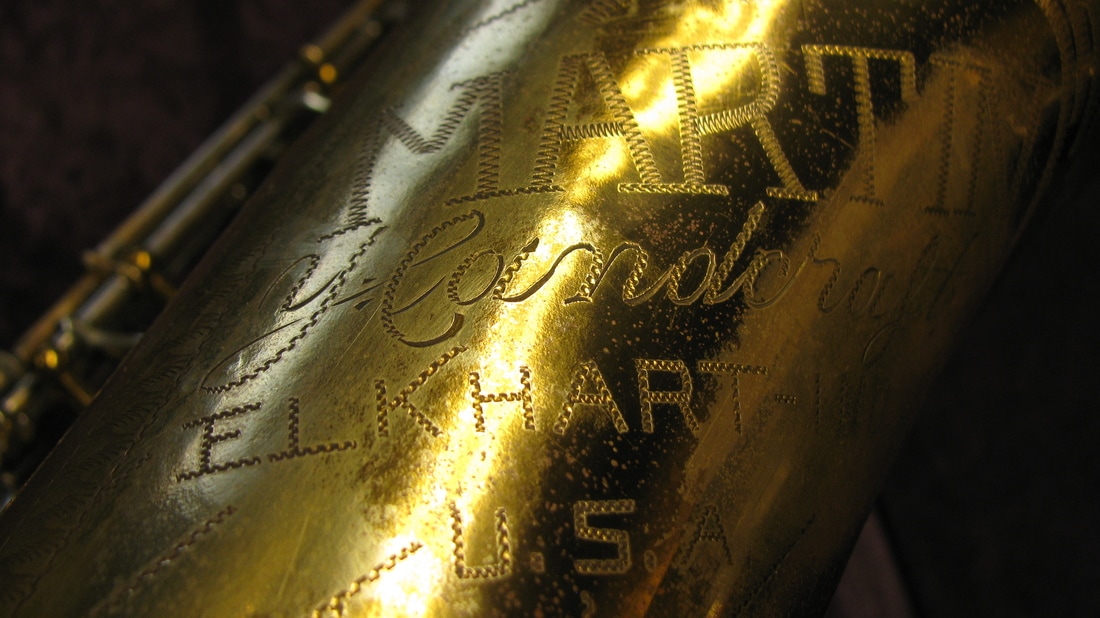
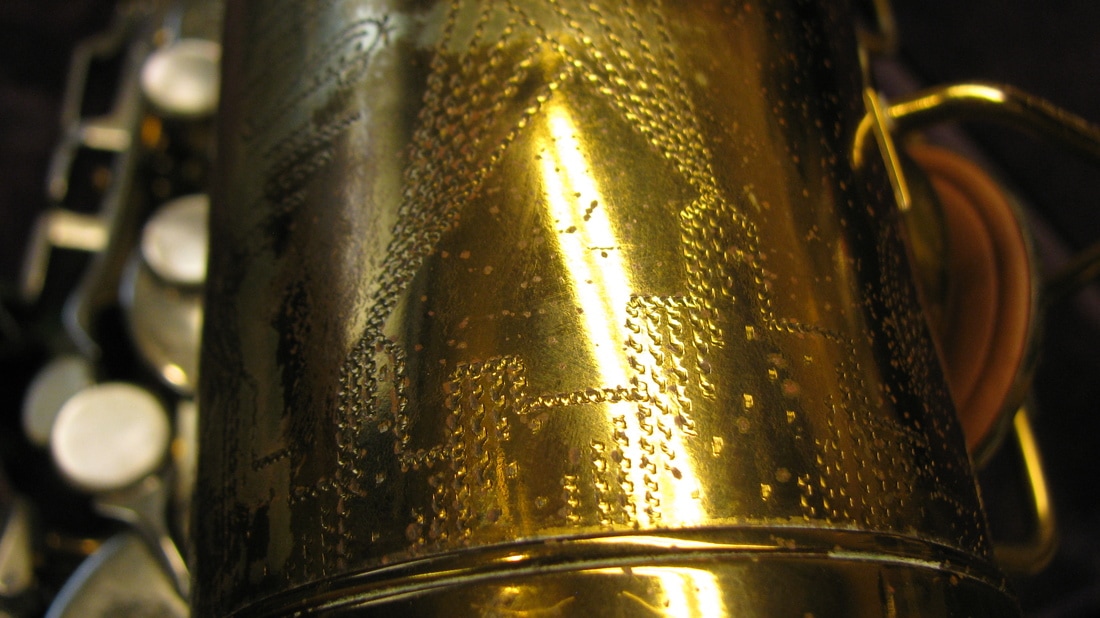
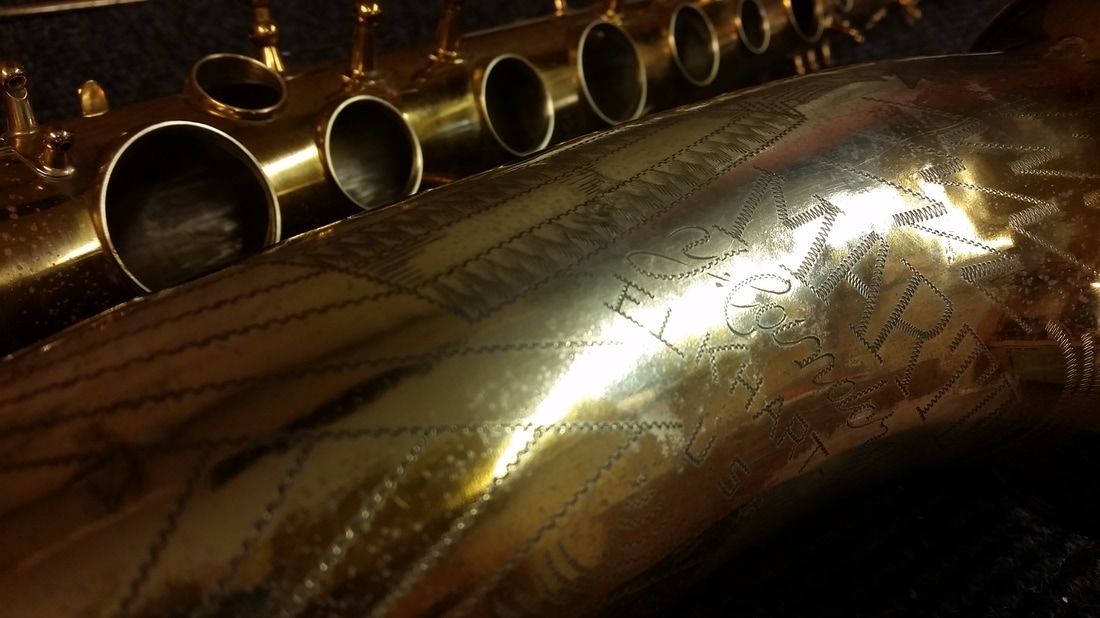
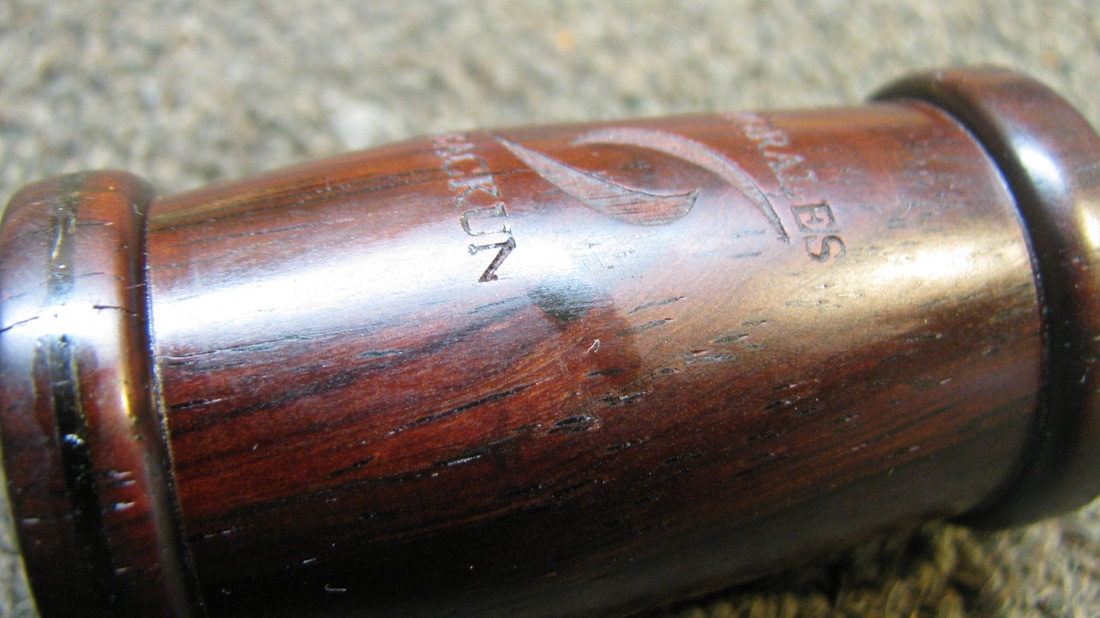
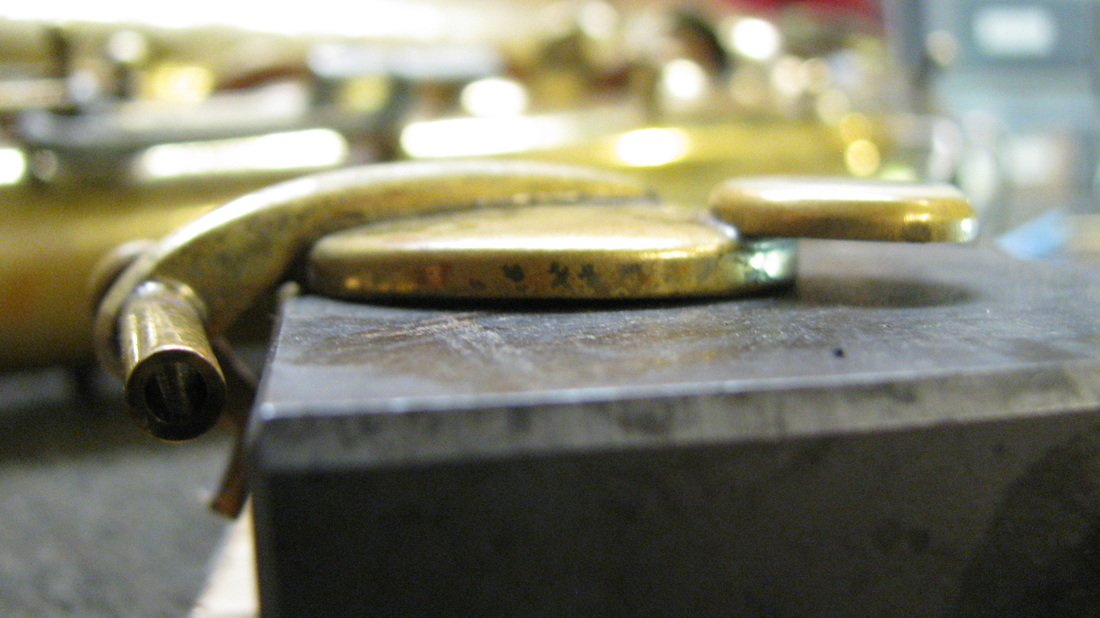
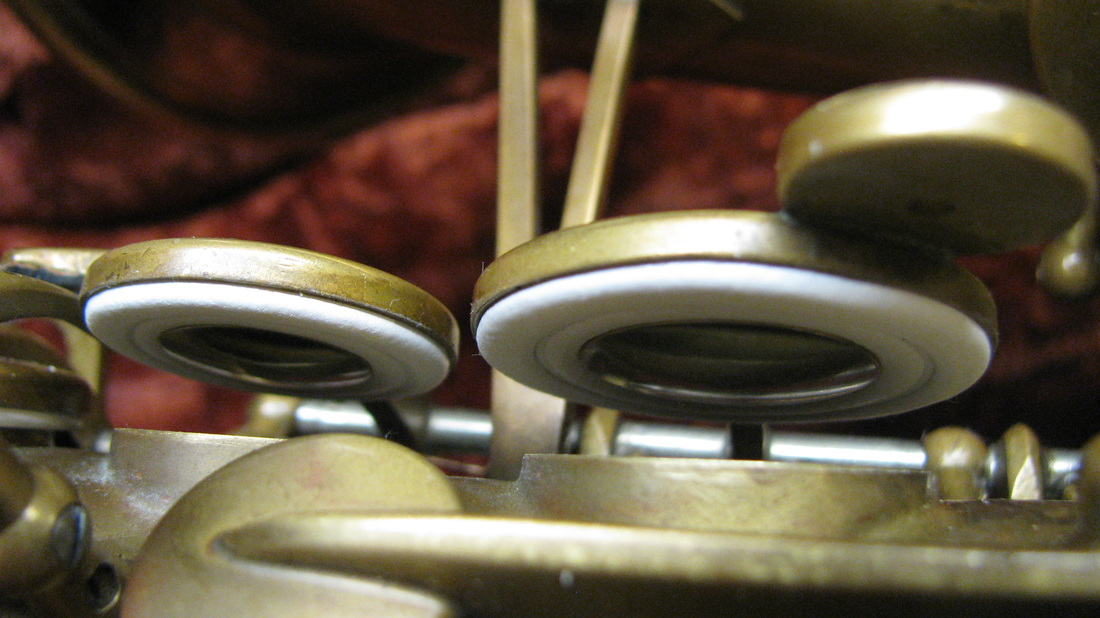
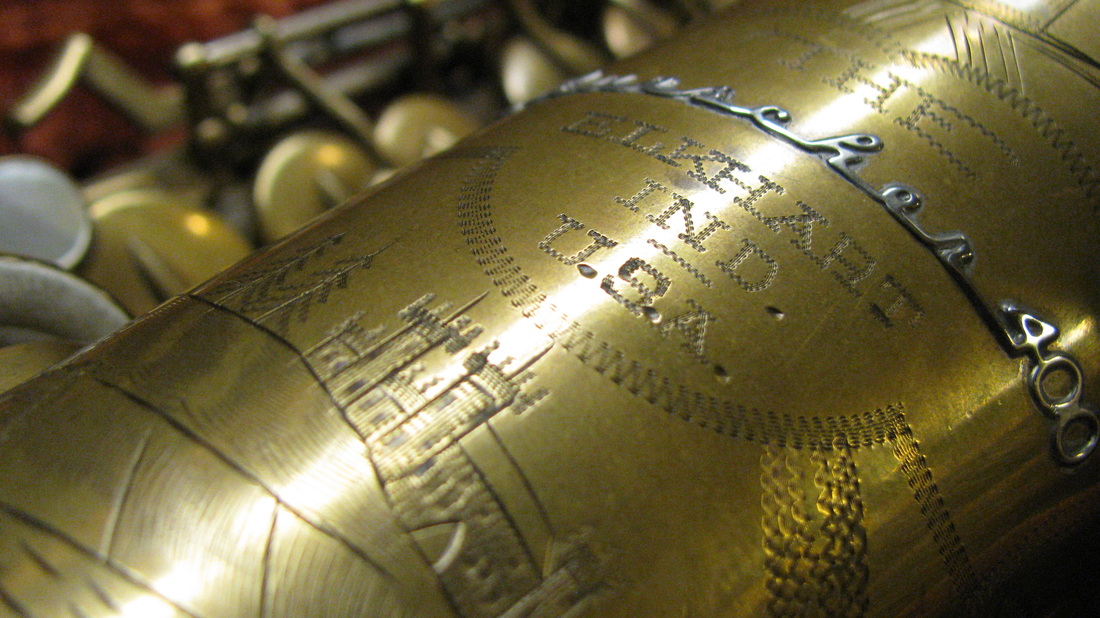
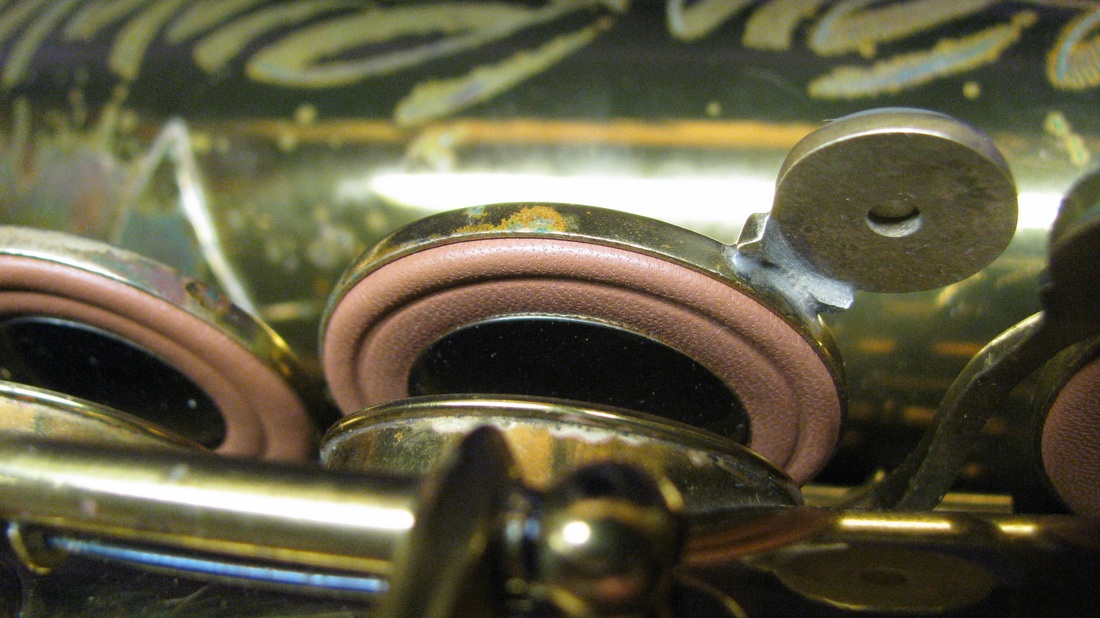
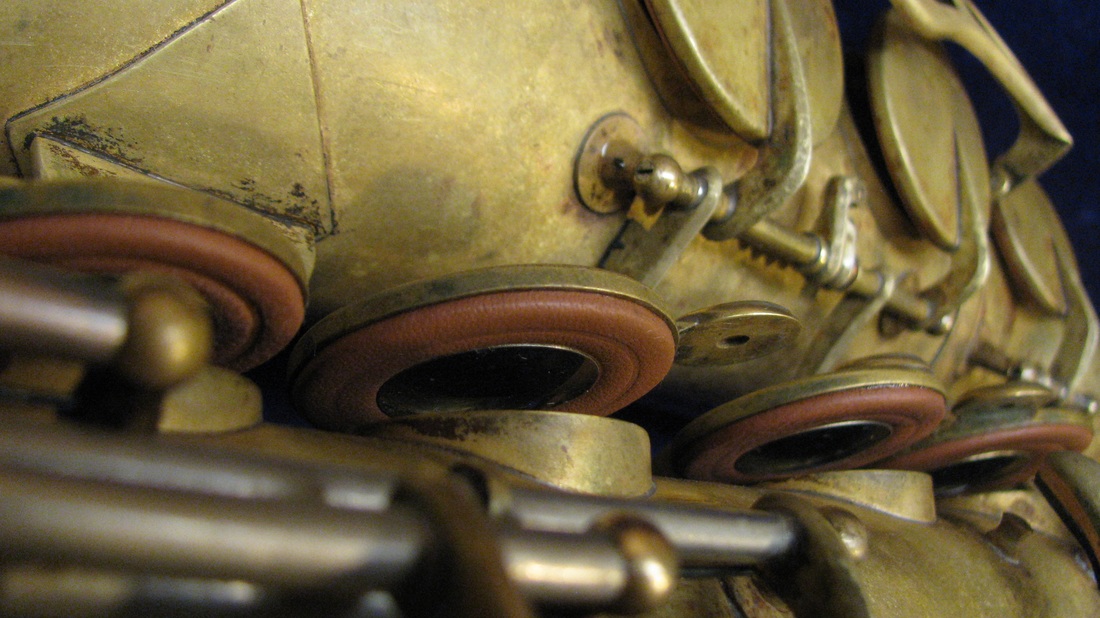
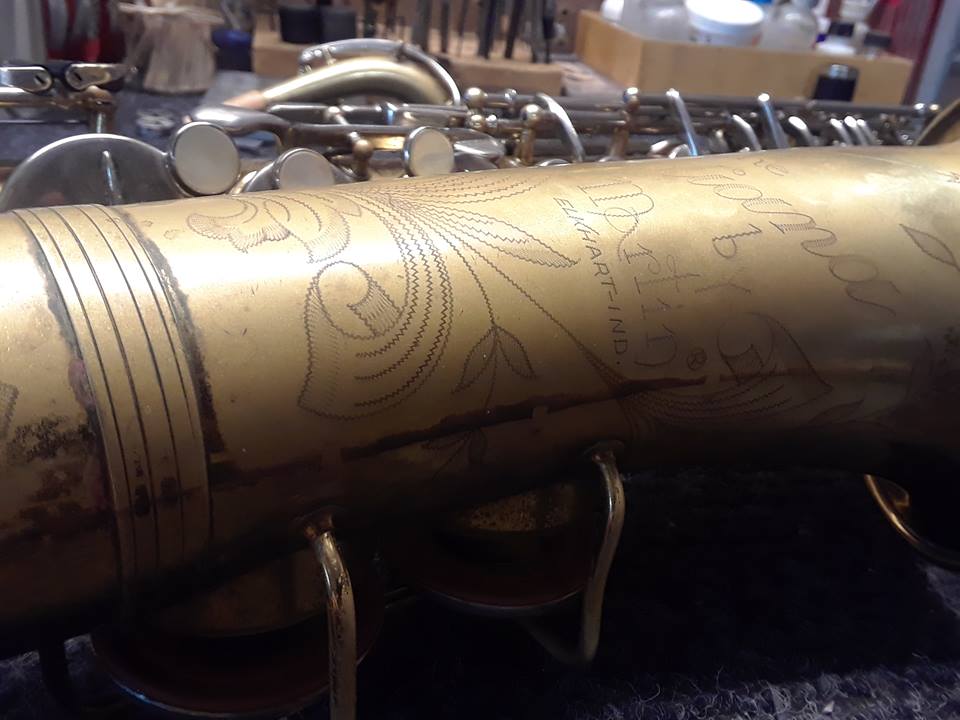
Take the Martin Indiana in the gallery below as just one of many examples.
If it is set up properly, meaning, if a repair tech that cares enough to do the all the work genuinely required, and is paid to take the requisite time to execute the repairs, it will produce the same robustly round and rich saturated tone that The Committee III produces. It will also feel balanced, even, snappy, and positive under the fingers. And the eveness of its intonation would make a modern Yamaha engineer envious.
All this can be accomplished with even an Economy Overhaul. A Kitchen-Sink Full Mechanical Rebuild is not required, but at the very least an Economy Overhaul must be the investment.
Do not let anyone dissuade you from investing in a proper repair on one of these. Internet forums and uninformed shops encourage owners to "just get the bad pads replaced, do not pay for an 'expensive' repair" when giving counsel regarding horns like this because there is no "return on investment."
Excuse me? Isn't playing a horn in proper adjustment a sufficient return on your investment?
And this is why very few people have played one in proper adjustment with tight keywork, and why they've never had the opportunity to say, "Oh My God....I didn't know..I had no idea these horns played so well." There are many others like this Indiana. In fact, all the horns featured in both the Galleries in these two articles fit this description.

Unfortunately a large part of the problem is the second question asked in such consultations is, "Well, how much is the horn worth?"
The question should be, "How much does the equivalent of this horn on the market today cost?"
Considering a Proper Overhaul will cost at least $1600-$1800, and weighing that against the fact that you couldn't buy a new horn as well made for that money in today's market, the answer should be easy. Especially when adding that the vintage "student" horn produces a sound that no modern horn can.
Don't skimp on the repair and you'll be much happier for much longer.
 
Dirty Secrets Part II
Acquisition Price + Proper Repair Costs > Resale Value

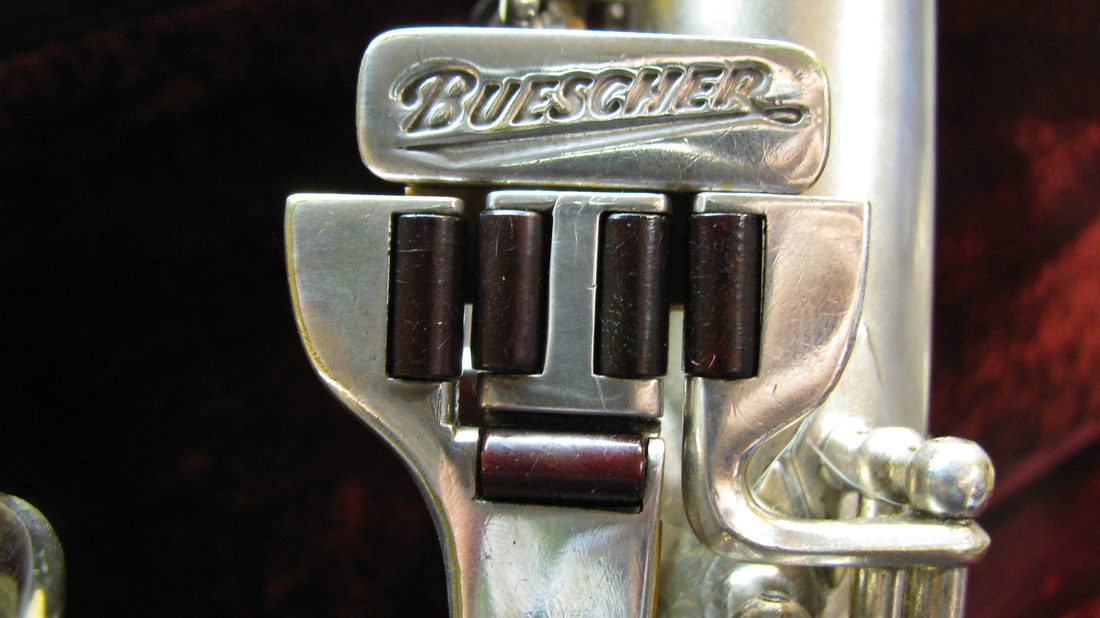
When you take the purchase price of your old student horn, old stencil, old re-lacquer, old Buescher, or even your newer student horn, or your 80's -90's era student horn and add it to the needed proper repair costs. The sum will ALWAYS be more than the resale price of the horn after the repairs. ALWAYS.

Oftentimes when people get the estimate of the needed proper repairs from their repair tech, it is natural for them to say, "I don't know...that price seems high. Is it worth it?"
The answer is, "It is if what you want to do is play it."

There is no shortage of confusion or misleading information regarding this question and it comes when the above equation is flipped. How do you flip it?
Reduce the repair costs.
Lots of horns are given bare minimum tune ups in the interest of flipping and making profit. Unfortunately their sale descriptions sometimes omit the repairs NOT done. These sales ALWAYS produce a profit. I see these horns in my shop routinely when buyers are seeking confirmation that there is something wrong with the horn.

This of course is not so much a dirty secret, but a reality that many people either 1.) Refuse to acknowledge, 2.) Actively and deliberately obfuscate in the hopes of making profit on sales, Or 3.)  simply do not know because
the information is saxophone esoterica.
Incidentally, that sum will very often be higher than the resale price even if your horn is a well made vintage professional model. Of course, there are vintage professional horns that do not fit this equation due to either market irrationality or scarcity. Such as Supers, BA's, SBA's, 5-digit VI's, Super 20's and Silversonics, rare gold plated Artist Models, and other horns that you are not going to buy anyway because their as-is-not-functioning price is way higher than most people are willing to spend to begin with. This article is not concerned with these high dollar horns.
0 Comments

December 07th, 2018

7/12/2018

0 Comments

 
Fabrication of a Post Bushing
This 1933 Conn Transitional tenor had a lower stack assembly that was so worn out and loose, the concentric play and the lateral play was egregious. In this article you are reading, we are concerned specifically with the concentric play.
No amount of normal post-swedging would have satisfactorily remedied the poor fit or the subsequent poor action. No amount of detail in the pad work would have remedied the poor action because when the pad closes on it's tone hole, the fulcrum will still rock in its loose-as-can-be orientation, creating a leak in the back of the pad. So, even a meticulously installed pad would suffer from the poor action inside both the hinge tube and the post.

So, first a new rod needed to be made to fit the hinge tubes, but the top most post was worn out still more than all the others. Why was that?

Look at the the third photo, see the old rod? See its splayed head? That is how the slop inside the post has been "corrected" for years. Splay the head and the rod will fit tighter inside the post...until it doesn't because the inside diameter of the post becomes too large for even the splayed head, and now it rocks around in there like crazy.
The solution is revealed in these photos: you make a post bushing of just the right size. In this case, the I.D. of the
bushing is .1085" and the O.D of the new rod is .108" So that gives a clearance of .0005" that's half a thousandth of an inch. Not good if you're working for NASA, but very good if you restore saxophones.
0 Comments

November 06th, 2018

6/11/2018

1 Comment

 
King Super 20 Octave Mechanism
The Super 20 octave mechanism is notorious for "always needing adjustment." That's not really true. If it's fit correctly, it will stay in adjustment like any other octave mechanism. However, assuming it is fit correctly, there is still a compromise that needs to be made within the 12 contact points needing to be regulated.
Picture
1 Comment

August 01st, 2018

1/8/2018

1 Comment

 
Saxophone Mechanics and Saxophone Mystique Part I
This is the first part of a Masterclass I gave at Centrum's Jazz Workshop in July 2018. In it I break down the mechanics of the saxophone in a very simple way to make it easily accessible to anyone in attendance regardless of how little they know about saxophone acoustics and mechanics.
Part II is the introduction to Saxophone Mystique. In it I break down some of the The Myths and Misinformation spread throughout the saxophone world that interfere with saxophonists' ability to understand how their horn actually works.
1 Comment

August 01st, 2018

1/8/2018

0 Comments

 
Saxophone Mechanics and Saxophone Mystique Part II
Here is Part II of the Saxophone Masterclass I gave a Centrum's Jazz Workshop in July 2018. In this part I break down some widely held myths and misinformation that interfere with saxophonists' ability to understand how their horns really work.
I also make very clear the one aspect of the saxophone that is indeed magical.
0 Comments

June 25th, 2018

25/6/2018

1 Comment

 
Conn vs Selmer           
1924 New Wonder Vs 1936 Balanced Action
Both of these horns received extensive Full Mechanical Rebuilds from myself within the past four months. They are in superb mechanical condition, better condition in fact than when they left their respective factories 95 and 83 years ago.
Two horns given the same job, the same attention to detail, the same level of scrutiny, and they are now both in exceptionally good playing condition. Assuming they are equal in mechanical precision, let's see which horn is preferred in a friendly contest.
I will be bringing each of these horns to Centrum's Jazz Workshop in Port Townsend, where I am the resident on-site emergency repair tech, from July 22-29. They will each be at my bench all week for any interested horn
Picture
players to come play test and compare them.
If you have never had the opportunity to play either of these classic vintage horns in like-new mechanical condition, come to my workbench and I will gladly answer questions about their histories and designs while you test play them. Let's explore the nuanced differences between their tonal colors, mechanical designs, and engineering. I will tally votes and announce the winner at the end of the week.
You can see full photo galleries of each of these horns here:
1924 Conn New Wonder
1936 Selmer Balanced Action
And the Selmer is For Sale!
1 Comment

June 14th, 2018

14/6/2018

0 Comments

 
The Honest Journey and Highly Sensitive Art of Pad Seating
Seating pads has never lost the mystery it had when I first started struggling with it 13 years ago. My results are far more consistent now, especially when I recall years ago it rarely seemed to go right. When it did, I wasn't certain why, because when it didn't, I thought I had done all the things to avoid failure.
We find what works for us. The entire process becomes highly individualized based on the questions we ask in the beginning and the long trial and error process that follows.
I know what works for me now and I get the results I want with a consistency that makes this work less ego crushing than it once was.
I know from years of experience that finessing the pad in the first photo would have been very frustrating for me. So I simply started over. The second photo is the same key with a new pad and seat that works with my pad installation and key-fitting process. I did not "re-seat" the pad. I find that never works.

Like all crafts, this part of saxophone repair requires intuition, a highly developed level of sensitivity, an understanding of the mechanics specific to the instrument you're working on, an aesthetic sensibility, the ability to be honest and accept failure, and long years of trial and error - which means far more error than success and will ultimately fail unless you are honest about the journey. And perhaps most importantly, it is about balance.

Many people opt to make light seat impressions. For some of those techs it works, for others it does not. Like I said, we find what works for us based on our journey, which is inevitably highly personalized.
I put it in those words deliberately, because I know techs for whom I have a lot of respect that have developed a pad seating processes and styles that work for them. Styles that simply do not work for me. One is not inherently better than the other - provided all the mechanical prep is done correctly
However, balance is at the root of it. Too deep is not good for a long list of reasons, and too shallow is no good for an equally long but very different list of reasons.
0 Comments

May 06th, 2018

6/5/2018

2 Comments

 
1924 Conn New Wonder Resurrected - Before and Afters   SOLD!
Everybody loves good before and afters, so here is a series with some dramatic changes. To see the whole gallery on this 1924 Conn New Wonder go here.
This horn was originally owned by a busy riverboat musician. It was played heavily, as is evidenced by the pitted brass on the left hand table, the side keys, and under the right hand thumb hook. It was then stored in a dank garage for years and ultimately subjected to flooding. When this horn was brought to me by the nephew of the original owner, an expletive involuntarily flew out of my mouth and I shook my head at the enormity of the job ahead of anyone should they dare to rebuild this horn. And it was indeed enormous.
This horn needed an entire new set of oversized hinge rods. The main rods went up from .106" to .108 and the
smaller rods went up from .088" to .092" and the hinge tubes were reamed with .1085" and .0925" reamers respectively. It needed 19 hinge tube extensions, one post bushing, 11 posts needed to be resoldered, the entire lower stack assembly needed to be removed and resoldered, one key needed to be cut and rebrazed to correct poor alignment. It needed all new rollers made. I made custom rollers out of marbled acrylic pen blanks. It needed all new needle springs, and it needed hours and hours of heavy polishing.
But the New Wonder is a seriously powerful horn. The enormity of the job is matched by the enormity of its sound. That Conn sound is so easily and immediately identifiable. The engineers at Conn had honed in on something that is still mysterious to all of us a century later. How did they make horns that produced such a large sound?
Between 1923 and 1925, some New Wonders featured this rare engraving on a diagonal. I love it. And I love this horn.
2 Comments

April 07th, 2018

7/4/2018

2 Comments

 
Pad Pop On Ribbed and Single Post Construction. Does It Make A Difference?
I was recently asked if the long sustained tones and instant, loud, percussive pop of the pad work on a Conn Transitional tenor I Overhauled were the result of the Single Post Construction on that horn. The implication being that a horn with Ribbed Construction would inherently resonate less.
It is a good and valid question.
The answer is no. The pop of your pads is in indication of the seal of the pads. It is an indication of the level of
Picture


detail put into the pad work by the tech that did the overhaul. It is also linked to the tolerances to which the key work has been fit - the lower the tolerances the more accurate and silent the key strokes, which will emphasize the pop and resonance of the presumably perfect seal.
Here are two videos that you can compare back to back. The first is of a 1965 Mark VI with Ribbed Construction
Picture


The second is of a Conn Transitional with single post construction. They both have profoundly long sustains and harmonics evident in just the percussive pop of the pads. It is interesting to note the pop of the High B pad on the Selmer. It's like a super high tom and it rings and rings.
In comparing these two videos I honestly think the Selmer, with the Ribbed Construction, has the longer sustain. But since I have a thing for Conns, I like the pop of the Conn better still.
2 Comments

February 16th, 2018

16/2/2018

0 Comments

 
Picture
Fixing An Excessively Loose Side Bb Key
These two videos show how a loose key can cause lots of problems. Watch the keycup slide across the tone hole in the first video, and compare that with the precision with which it closes in the second video after it has been properly refit.

The difference is significant. And if it is done well it will hold up for years. Like I say in the video, this is an inherently bad design, so this is the best possible option. Simply changing the pad without addressing the poor fit is asking for trouble.
0 Comments

December 12th, 2017

12/12/2017

0 Comments

 
What Is Tolerance Part II
This is a good companion video to the previous blog post about high tolerance key fitting. This is a good demonstration of how loose keys, keys fit with very low tolerance, can actually cause leaks or exacerbate what leaks are already there.
If the hinge rod in question in this video fit the Low C key hinge tube with a much higher tolerance it would not rock like it does in this video.
You can see the previous post by scrolling down below or go here.
http://www.cennamowoodwinds.com/blog/december-11th-2017
0 Comments

December 11th, 2017

11/12/2017

5 Comments

 
Picture
What is Tolerance?
You'll hear meticulous repair techs talk about tolerance in regard to key fitting. So, what is it? Put simply, tolerance describes how two pieces fit. There's High Tolerance and Low Tolerance. High tolerance is when the mating parts have very little deviation, meaning they fit tightly. Low tolerance is when greater deviation is allowed, meaning they fit loosely.
The goal in saxophone overhauls is to fit the key work as tightly as possible without making it bind. Traditionally this is done by swedging the keys with a three point swedging collet like those in the pictures below. It has proven to be effective for decades and will undoubtedly continue to be used by repair techs everywhere for years.
But very old horns with badly worn out hinge tubes need more attention than that. Just swedging the keys harder becomes ineffective. In order to increase the life of these irreplaceable instruments, new rods need to be made. And, it's preferable to fit them to high tolerances.

Picture
The lower stack hinge rod being measured in this photo belongs to a 1931 Conn Transitional and it is worn out. It currently measures .105" but when it left the factory 87 years ago it measured .106" After 87 years, the metal has worn away.
The key hinge tubes are equally worn out. Their inner diameters are larger than when they were made due to the loss of metal from almost a century of action. So, there's at least .002" of slop between the hinge rod and the hinge tube. Which is a lot when it comes to key fit. For a high tolerance fit, the new rod needs to be oversized.
I made a new rod using the .108" pictured here. Of course, it will not fit in the hinge tube, but I will be able to ream the tube with a straight shank reamer of my choosing. And I choose to use a reamer only .0005" larger than the rod.
The rod is .108" The reamer is .1085"
Think of it as 108 and a half.
A standard index graduates the reamers in uneven leaps. After .106" comes .110". That's a leap of .004" and that is not helpful.
This is when tolerances come into play. Special ordering your reamers to .0005" of your rods makes a huge difference in how the rods will fit the keys. 
Picture
Picture
The new .108" rod fits into this hinge tube with a tolerance of .0005". The higher the tolerance, the tighter the fit, and the more skill that is required to make it so. Now I'm not making parts for NASA, so .0005" is damn good. There is no concentric slop in the key whatsoever and the key falls free on the rod. The greatest benefit to doing this is the parts mate at all points in the hinge tube, so it feels especially solid, and this will last for several more decades now.
When you run into badly worn out keys like this and you just swedge them harder, they cinch up at the ends only, and if there's as much slop as these keys had, you'll leave them misshapen as well. You can see the swedge marks from the previous overhaul here - which is fine, but going for it again would have made them visibly ovaled at the ends like footballs. This last photo is the new hinge rod in the accurately reamed key.
Picture
5 Comments

September 18th, 2017

18/9/2017

0 Comments

 
What Is Key Geometry And Why Do Techs Always Want To Correct It?
Geometry is what makes or breaks the relationship between saxophone key work, the body tube, the posts, and the tone holes. On well-manufactured horns the geometry is usually pretty damn accurate, but there are always errors, big ones and small ones. Here is just one example of what it looks like to correct issues with key work geometry.

Photos one and two show the G key in the upper stack being "Dry-Fit". What is Dry fitting? After you have meticulously fit the key to eliminate all slop and wobble, you install the pad in the leveled key cup without any shellac. Then, you check the relationship of the pad to the tone hole.
As you can see in those first two photos, the pad is nosing hard; there is a huge gap in the back of the pad. It's so big that it is not normal. So I know there is a problem with the geometry.
    *Before the Buescher purists get their knickers in a twist about .185" pads, slow down. This was the only key on this entire 1926 Straight Alto that had this severe discrepancy. Using .160" pads on this Rebuild, every other key on the horn passed the Dry Fit as virtually level or slightly back heavy. And that is actually the norm. The .185" pads are always extremely back heavy. You can read more about my thoughts on the arcane and obsolete approach of using .185" pads on Bueschers here.

In the third photo I am correcting the geometry of the key arm. I am changing the angle of the key arm so the back of the key cup will be closer to the back of the tone hole. Simply adding a bunch of shellac to increase the pad profile is not the way to solve this problem - you'd end up with uneven pad profiles in the upper stack which would look amateur, the pad would be less stable, and you'd likely get a bunch of shellac on the spud and then the Snap would be loose. Hence the need to Correct Key Geometry.
In photos four and five I am Dry Fitting the pad again after having corrected the key arm angle. The pad is now virtually level - emphasis on virtual. The pad isn't actually level at all, but I can tell that with a normal amount of shellac I will be able to seat this pad without terrible difficulty; particularly since I have done a lot of other prep to get to this point.

In photos six and seven I am re-checking the key cup for level after having changed the key arm angle. I am using two bench anvils because this is a Buescher key cup and the spud prevents me from leveling it flat on a single anvil.

The eighth and ninth photos show the pad installation for a Buescher. I now know approximately how much shellac I need thanks to the Dry Fitting. And as you can see, I do not need an excessive amount. That is how I want it. Also note that I have taken care to leave the spud clean so I can get a good firm snap when I install the Snap-In.

The last three photos show the seated pad. Note the relationships between the key cup, the pad, and the tone hole. The pad has an even profile - it is not cock-eyed. The profile is not exaggerated and ballooned due to excessive shellac either. The lines of the tone hole rim, the pad profile, and the key cup rim are straight and level. Compare to the second photo in particular.
In the last photo you can also see that the pad seat is centered, another important detail.
0 Comments

June 26th, 2017

26/6/2017

0 Comments

 
Quick Shop Tour
While there are many photos of my work and the horns that have been through my shop on this website, there are very few photos of me working on the shop. Here is a series of shots taken while I was cutting hinge tube extensions for a 1949 Conn 10M getting a Full Mechanical Overhaul. I recently added several new workbenches and they can be seen on the last two shots, where I am getting ready to solder the extension onto the F key. 
0 Comments

May 18th, 2017

18/5/2017

0 Comments

 
1937 Martin Handcraft Committee I Tenor Saxophone
These horns are terribly underappreciated, but those of us that have played one in proper adjustment, or in this case, after a complete mechanical rebuild, we know just how amazing they are.
These six photos here highlight the extensive dent repair done to the bell. This horn sustained multiple impacts. And then it suffered an unspeakably inadequate attempt at repairing it. The dents were pushed so far out it essentially potatoed the entire bell. You can see the entire slideshow here.
0 Comments

March 31st, 2017

31/3/2017

0 Comments

 
Carbon Fiber Banding a Backun Barrel
This Backun barrel cracked on two sides, right through the wood retaining ring. It would have undoubtedly spread eventually and the leaks would have created serious playability issues. Pinning the retaining ring was impossible due to the small work area, so I wrapped a carbon fiber band inside it instead.
These barrels are put together in three pieces, the two large rings are adhered to the barrel after it has been machined. They are designed to prevent the thin walled barrel sockets from cracking. They failed. I suppose traditional metal rings would have been better after all.
The two holes drilled into the body of the barrel provide a termination point in which the crack will stop.
I received very helpful advice on handling this repair from several techs I respect highly, thank you to all of you.
0 Comments

March 06th, 2017

6/3/2017

0 Comments

 
The Conn 30M, A Remarkable Feat of Engineering, To A Fault
The 30M is simply amazing. When I finished this Full Mechanical Overhaul I marveled at the mechanics for days. It is truly beautiful. It plays with all the power of its less ornate sibling, the 10M, and its low production numbers make it rare enough to endow its engineering marvels with even more awe inspiring power.
And if given the choice, I'd take a 10M any day. Simply put, the feel of the key work layout of the 10M is significantly better than the 30M; which is very interesting because the differences in the key work layout are also very subtle.
Aside from all the extra adjustment screws, they look almost identical. But they feel quite different. The 30M is more compact in some regards, especially the lower stack and its relationship to the Eb/C assembly.
But my biggest gripe with the 30M is the reach required to get to the low Bb spatula.
It's enough for my relatively small hands that half the time my LH first finger slips down the B key pearl enough to release its seal on its tone hole. Toggle back and forth between these two photos to see what I'm talking about.
Although I can manage it because I have been playing the saxophone for 25 years and repairing them here in Seattle for 12, I'd rather play a 10M, but I'd also want a 30M, just to look at it.
0 Comments

February 02nd, 2017

2/2/2017

0 Comments

 
Open That F Key
The F/C key on most clarinets is almost always wildly under-vented. Common wisdom among many repair techs is to vent the F/C key so the pad is visually just above the body when viewed straight on. Of course, everyone accepts that each horn will require a slightly different set up once the play testing begins, so the height of the keys will vary somewhat, but generally speaking the pad is usually just above the body.
Look at the before and after here. When this horn came in, an SML Strasser, the owner said it played, "Pretty OK". And he was right, it was pretty ok. Not the best selling point. To be fair, there were other issues, like the knot-ridden cork pads on the upper joint, but that's another story.
The first picture is how it arrived, the key is vented .097". The second photo shows the set up when I was done with the Overhaul, it's now .157" That is a huge difference, and it is profoundly better.
I do not subscribe to the "maximum venting is best" school. That is not how we fix horns. They are all different, and it takes years to navigate the highly sensitive responses each horn provides when the key heights are changed. It truly makes or breaks things. Too much is just as bad as too little. But when it comes to clarinets, they are almost always too little.
To open the F key this much, the geometry of the F# key must first be altered, the F lever often needs to be cut, and then your adjustment materials need to be changed up. It's not like raising the height of the lower stack on a saxophone.
When I set this horn up I knew before the overhaul started that I would need to do this based on what you see in the first photo.
I adjusted the F# key, increasing the angle of both the key arm and the touch piece, did a preliminary check, and then backed off on it because I thought I went too far.
Two days later, when I got to play testing the horn, it was pretty underwhelming. Especially low G, it was as furry as could be.
So, I had to get back into it and increase things. I repeated the process until it finally responded with this beautiful, clear, uninterrupted tone that inspired me to make music with it. And that is what you see in the second photo.
0 Comments

December 22nd, 2016

22/12/2016

1 Comment

 
1946 Gold Plated Full Pearls King Super 20
What is there to say? These horns a true rarity. Not many people have seen a Gold Plated Super 20, so I feel extremely lucky to have been entrusted to rebuild this one. And it was a big job. In the end I fabricated 8 new oversized hinge rods, increasing from .106" to .1093". I made 3 new screws, the G# adjustment arm, the Low Bb roller screw, and a new key guard screw. I made two new post sleeves, and 7 hinge tube extensions. And it was all so worth it. After the last Zephyr rebuild I did, which I declared my new all-time favorite, this horn here has toppled it from that mantle. Wow. The pictures don't say it all, it has to be played of course to really experience it. But they will have to do, so enjoy them. See the whole gallery here.
1 Comment

December 18th, 2016

18/12/2016

0 Comments

 
Hinge Tube Sleeve, or Post Bushing
The O.D. of this sleeve is .112". The I.D. is .106", that's a .006" clearance, I don't think I did too bad.
I drilled the post out to .113" to accept the .112" sleeve. The rod is a very worn out .106" and measures .1055"
I'm always first to chastise myself about my lathe skills, but I was pretty happy with the how this bushing came out. However, I'm sure the high school kids in the last photo, learning how to use machine lathes at a popular Technical High School in 1944 are currently side-eyeing my pride. But I can only take it one day at a time.
In the meantime, the Side F# on this 1946 Gold Plated Super 20 tenor has absolutely no concentric play, the post was terribly worn out and the rod was slopping around inside it like crazy.
The last photo shows the hinge tube extension I made for the same key, the lateral play was also egregious. But now there is no lateral play either. It's the little things that make a huge difference.
0 Comments

December 07th, 2016

7/12/2016

2 Comments

 
Overhauls: You Don't Always Get What You Pay For
These two horns came into the shop back to back, a 1968 Selmer Mark VI and a 1960 Martin Magna. Both horns had been overhauled exactly two years prior to their arrival in my shop. Both horns had been played heavily in their respective two years: The owner of the Selmer said, "I play it every day for one or two hours, it's my therapy." The owner of the Martin said, "I used it very heavily for the first year, but not as much in the second since I was getting more Bari gigs in that time."
The Magna was purchased from a nationally recognized repair shop. It was sold as fully restored and overhauled. The owner of the Selmer wanted their VI given a full mechanical overhaul and brought it to a tech also recognized nationally.
Two years later each horn was brought to my shop. The owner of the Selmer expected a regular Full Service, the owner of the Magna hoped it'd be a regular Full Service but had reservations as you will find out below. The necessary work for each horn turned out to be very different indeed. Final labor charges on the Selmer came to $300, while the Martin came to a hefty $1200. Here we go:

The Selmer
My estimate for the Selmer was between $200 and $300. I changed 9 Pads.  I suppose I could have gotten away with changing fewer, but I admit to being very picky, that's how I work, and I make no apologies.
The owner was experiencing the common sticky Bis, G#, and C#, so those had to go. Also, Low Eb and High F were heavily corroded which is also very common. So that leaves four pads that were "surprises". And remember, this horn was played everyday for two years, so that's a good run. It was time for a Full Service, and the horn got one. The only real surprise was the excellence of the job done by the tech.
The keywork on the VI had been refit properly during its overhaul. The pivot screws fit perfectly, hinge tubes fit between their posts and neighboring keys - some miniscule play had developed on a few keys but it wasn't noteworthy. The pads that didn't need to be replaced needed only minor adjustments and responded well to normal tucking and floating. The horn was completely disassembled, the rods and hinge tubes cleaned with naphtha, and all new oil and grease installed. Lastly, virtually none of the adjustment materials were beginning to show signs of failure and their applications made sense.
This last point is a widely overlooked part of setting up a horn. Adjustment materials and their application are not glamorous and they are easily forgotten. But when they fail it can become a very expensive problem. So, it was a real joy to put the horn back together and not have to back track any of the work.

The Magna
The Magna was orginally estimated to be $600+, and I told the owner I'd get back to him after getting into the job because I had some questions about it. Upon first inspection I could see that only some of the key work had been refit, but left at very high tolerances, and the key work the wasn't refit was egregiously loose.
This is always a very bad sign, especially on an "overhaul", it is the first indicator that lots of corrections will be needed. While it is true that a horn with loose keys can be made to play rather well, subsequent visits to the shop will always more costly because sloppy key work creates a wide variety of extra problems.
So, after checking all the pads with a feeler gauge and making a basic plan, which already entailed replacing the majority of the pads in the stacks, I took the G key off and immediately saw that the tone hole solder joint had
failed and it didn't look recent; look at the verdigris. I then closely inspected every tone hole and found another failed joint on the high F. I knew then that much more work would be needed; because making certain that solder joints on Martins have not failed is a fundamental part of restoring any horn with soldered
toneholes. Remember, this was sold as a freshly overhauled horn. You don't always get what you pay for.
Many adjustment materials showed signs of failure, had failed out right, were over compressed, or had been installed cockeyed and crooked. Replacing adjustment materials is way more involved than gluing corks back on. The materials are what hold your regulations, and once they change, it snowballs from there.
What's worse is when the keys haven't been fit, adjustment materials do double duty: they take up slack for wobbly contact points and the keywork feels clumsy and mushy. Adjustment materials are intended to hold regulations because properly fit key work allows them to do so. Correcting this is far more costly than "replacing a cork."
Then there was the receiver. Martins have a tear drop design with a locking screw mounted to it. The screw locks into a channel on the outside of the receiver. While it is attractive, it makes fitting the neck very difficult. When the fitting is short-cutted the screw is relied upon to do the all the work, and it is turned as far as it will go over and over in an attempt "get the neck tight".
See the bright spot within the dark section in the first photo? That is a dent made by the lock screw due to this over tightening. It is preventing the tenon from mating to the inner diameter of the reciever. The dark spot is where the tenon is simply not contacting the receiver wall. And you can bet the fit of the neck to the receiver was terrible. Poor neck fit is always part of why a horn has intonation issues, which this horn did. Remember, this isn't a yard sale find, this is a horn purchased as overhauled from a nationally recognized repair shop. It is a shame.  Correcting this took a couple hours.
Then there were the pads. Martin key geometry dictates that pad profile be low, meaning they need thin pads. If you put a thick pad in the cup it will hit the back of the tone hole hard, and any shellac behind the pad will only add more height exacerbating the issue further.
What can you do if the pad hits hard in the back? You can wedge a piece of leather between the pad and the tone hole where they meet first - in the back - and hammer on the front of the key to bring it closer to the front of the tone hole. But this will warp the key cup in exactly the way you see in photos 3 and 5 above, giving it two high spots.
Almost every pad on this horn was way too thick, and most of the key cups were warped in that way. While you can still "seat" a pad that has been installed like this, into a damaged and warped key cup, it creates these new problems that must be fixed. Correcting key work geometry is in the top 3 of most time consuming/expensive repairs. It is a shame that this had to be corrected at all.
It's better to install a pad of the appropriate thickness ensuring it is level, and seat it in a level key cup, on a key that is fit correctly to the hinge rod etc.

One more thing about Martin key geometry. The design dictates that the keys express a narrow arc. Meaning they do not vent very high because the super thin pads the key cups call for allow for proper venting. But if you install thick pads into the key cups you'll end up under-venting the horn as well. Which will make the horn stuffy, over resistant, and it will have uneven intonation. The owner brought the horn back to the shop about six months after
he purchased it because it seemed to have gone out of adjustment.
He then brought it to two other shops for more adjustments but believed the horn could play better than it did.
It's one thing for the other shops to have missed the inherent problems, but the real onus is on the shop that sold this horn.
Picture
 I received this text from the owner a couple days after he picked it up and had a good 3 hour session with it:
"The horn is quite a different horn. It's so full. It's not stuffy anymore. The amount of air it takes to play it has dropped significantly. It no longer feels like a monster. The spatula keys are perfect on tension. It's balanced throughout up and down the register. It's just so easy to play. As I got used to it my sound grew fuller. The horn really is a joy to play.
Thanks again for the attention to detail on this one. It really made a world of difference! I don't want anyone else to touch it, not even for a cork replacement!"

Attention to detail is critical in this line of work. And the above message says it all. In the end I replaced all but two pads on this Magna. It was necessary and this response from the owner only confirms that.

I'd like to acknowledge Matt Stohrer for the work done to the Selmer. He is the tech that did the overhaul on it two years ago, and it was a pleasure to follow up on work that was done correctly. The owner of that VI got what he paid for the first time and that's how it should be.
2 Comments

November 25th, 2016

25/11/2016

0 Comments

 
The Death and the Life of a Horn
I overhauled this horn six years ago in 2008. At the time I was in the advanced stages of my apprenticeship, having recently left Ed Strege's Badger State Repair and working in a corporate repair shop.
My supervisor at the time was in the "Always Grind Out Buescher Snaps" camp, and had counseled me to persuade this customer to have that done to this horn. And I did. Therein lies the Death.
That was then. I never do it now, and wouldn't agree to if a customer asked, I'd tell them to have it done elsewhere.
The owner of this horn is clearly not losing sleep over it. He has continued to bring it back like clockwork once a year for a full service. Some where along the line he decided he wanted any new pads installed to be white. He's moving and this time around the whole lower stack, along with some other pads, had to be replaced.
Removing Buescher snaps is unnecessary and ethically questionable, but once they're gone, finding, and then soldering in, replacement grommets is very expensive.
Now, playing this horn is as fun as the pictures make it look. It is arguably one of the most stylish horns I have ever seen. And no one, no one, will walk into a club, hear the horn player and say, "Oh man! Listen to that, that cat can play---wait. Oh, hell no. Someone removed the Snaps from that Buescher. God damnit, I'm outta here."
No one can hear the difference, and anyone that says they can is pretending. However, the sad part is the loss of historical integrity. And like I said, once they're gone, putting them back isn't very easy. The most valuable lessons are the tough ones. Every time I see this horn I learn it again.
But when I play this horn, it responds with so much color and power, I never stop to think about the snaps, I'm too busy enjoying the horn.  And therein lies the Life.
0 Comments

November 16th, 2016

16/11/2016

0 Comments

 
                                                         1940 Conn Connqueror 30M
 The 30M takes the 10M to a whole new level, and it is an engineering marvel. The left hand table on this horn is unlike any other in the saxophone world. If Conn had not gone full bore into the student horn business and continued to up their game in this regard, I am confident they would now hold the mantle of "most sought after and over priced horns ever made" that Selmer enjoys. Why? This is the most space-aged design ever. It is so far
ahead of the bench mark firmly planted by the Mark VI. It is fascinating to imagine what Conn would have done if they let this/these engineer(s) loose on ever newer designs. The left hand table has fourteen contact points, eight keys, and three micro-adjustment screws. Once it is in proper adjustment it feels like any other M series table, but if it is sloppy, poorly fit, and riddled with lost motion, it feels utterly terrible; far more so than its normal M series counterparts in similar poor adjustment.
This horn plays with all the enormity and power you'd expect from a 40's era Conn. Wow.
See the whole slide show here:
0 Comments

October 10th, 2016

10/10/2016

0 Comments

 
1945 Silver Plated Military Issue Buescher Big B Aristocrat Alto   Sold
Here is what Robert S. Howe said about this horn after receiving it:
"
I just spent an hour with the Big B, comparing it to a 2014 Selmer, A Cigar Cutter, and a Rev D SML.
I am keeping the Big B. Boy, I like that horn. Boy oh boy, do I like that horn.  You already know how good it feels in the hands, how perfectly it seals.  I like it for its musicality, it’s an outstanding saxophone.  The combination of lush sound, great tuning, easy playing is perfect for Pictures at an Exhibition. It lets me spin the sound out in the second solo without having to take an extra breath.  I can keep the last note going in a diminuendo, at pitch, for longer than on any of the other horns.  The neck is so tightly fit, that’s wonderful, most techs don’t spend enough effort to get this really right, I think this is a very important matter.  Thank you for your attention to this."
   
See the original listing here.       
0 Comments

September 26th, 2016

26/9/2016

0 Comments

 
1954 King Zephyr
I'm always bragging on the internet about how my Conn New Wonder beat an SBA or a Mark VI that just left my shop. But I can't say that this time. This 1954 King Zephyr blew my Conn New Wonder away. This horn has become one of my all time favorites. I love it. Part of that has to do with how happy I am with the job I did, and if you look at these close ups you'll see the clean pad work and adjustment materials, but it'll be harder to see the zero tolerance key fitting.
I had to make 17 hinge tube extensions on this job. That's more than any other horn I have rebuilt. But the keys are as tight as any I have ever put together. I'm proud of it and I'm bragging because I routinely see freshly overhauled horns with sloppy key work all over the place and it makes me sad. It is one of the greatest sources of misinformation in the saxophone community.
But this horn here makes me really happy. What power! You can see lots more photos here
Overhauling this horn was a special honor because it is owned by Stuart Bogie,  a saxophonist that I have looked up to for years. In addition to leading Super human Happiness, he's played with Arcade Fire, TV On The Radio, Iron and Wine, Paul Simon, Public Enemy, The Roots, The Alabama Shakes, Matana Roberts, The Kronos Quartet, Wu-Tang Clan, Antibalas and more. I met Stuart back in 2000 and I am happy to call him a friend and to have put my sweat and love into this horn means I get to be a tiny part of this story now. This is why I love my job. Thank You Stuart.
0 Comments
<<Previous

    Archives

    January 2019
    December 2018
    November 2018
    August 2018
    June 2018
    May 2018
    April 2018
    February 2018
    December 2017
    September 2017
    June 2017
    May 2017
    March 2017
    February 2017
    December 2016
    November 2016
    October 2016
    September 2016
    August 2016
    July 2016
    June 2016
    May 2016
    March 2016
    February 2016
    November 2015
    September 2015
    August 2015
    May 2015
    April 2015
    March 2015
    February 2012

    Author

    Carlo Cennamo

    Categories

    All